I might be a little weird, but I seriously LOVE getting my teacher planner ready for the next school year. My teacher planner is my lifeline!! If you want to be successful with your teacher planner, I have some tips and tricks for you!
Choose a Planner that Works for You
There are hundreds and hundreds of teacher planners available in the world. Do your research and see what planner will work best for you. I love watching planner videos on YouTube and IG stories. This blog will be about my Teacher Happy Planner, because that is the planner that works best for me (affiliate Amazon link, planner can also be found at Michales or Hobby Lobby). Keep reading to see if it will work for you too!
Lesson Plans
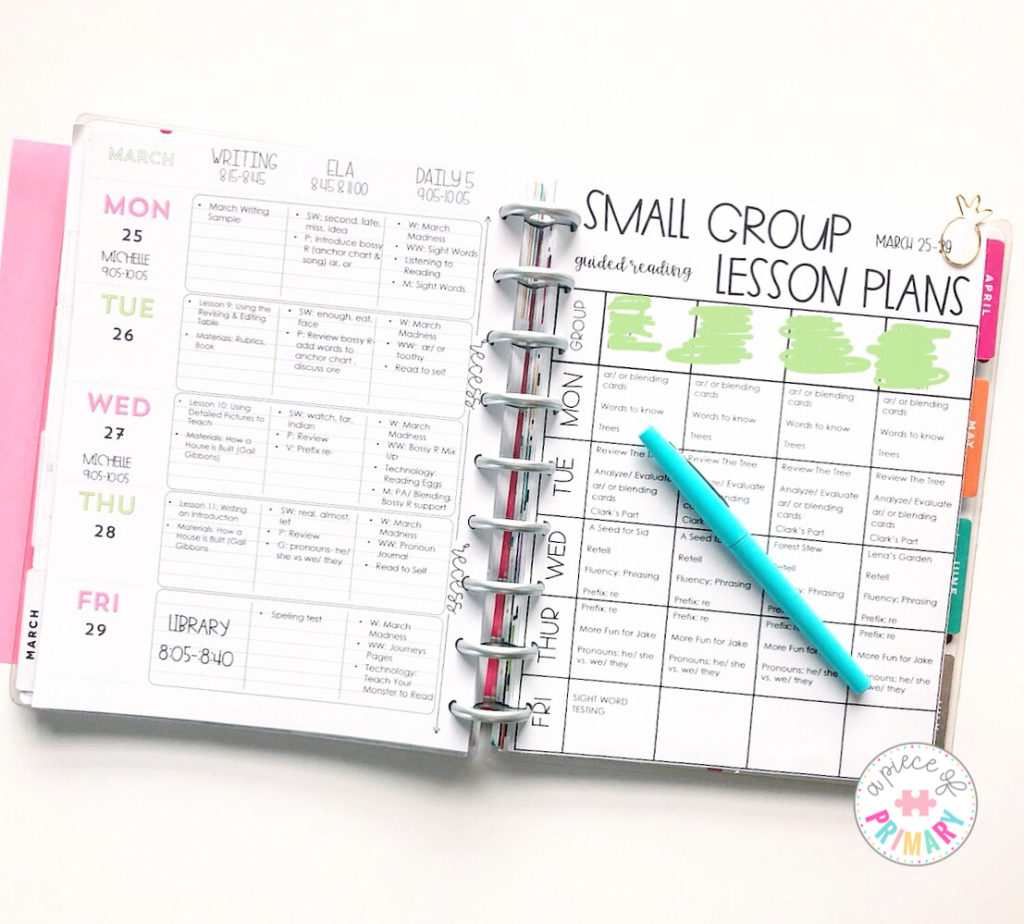
I’m going to start with the main thing- How do teacher planners help you lesson plan? Like I said, I use the Happy Planner. The Happy Planner has amazing features that help it be functional and customizable to each of our unique needs. The discs on the Happy Planner allow you to pull out the pages in the planner itself. I pull out the pages and print my plans directly on them for a clean look. I use this template to print my plans from Succulent in Second.
So how does this help? It saves me so much time to be able to copy and paste my pages each week for the routine things in my classroom. For example, the subjects at the top, library every Friday, and my aide’s schedule are already ready to go. I don’t have to rewrite (or retype) them every week. For subjects and stations, I just have to plug in the lessons for that week. It also helps me save time because I can simply copy and paste my text in the template and upload it to the online lesson plan system required by my admin. Lastly, I like things to look nice. Call it silly, but when things look put together, I feel put together. Of course, you don’t have to type your plans out. That’s just the Type A coming out in me!
Overall, when my plans are typed out for the week, I feel prepared. The plans keep me on track. BUT– I have learned that you need take all your plans and wrap them in a little bit of grace. Things are going to change and it’s okay! As a first year teacher, this was hard for me to accept, so I want to throw that out there. I take anecdotal notes right on my plans during the week to keep track of what needs reteaching the following week. I circle lessons that we didn’t get to. It doesn’t stay looking pretty throughout the week. If your planner is going to be helpful, you have to get it messy!
Small Group Lesson Plans
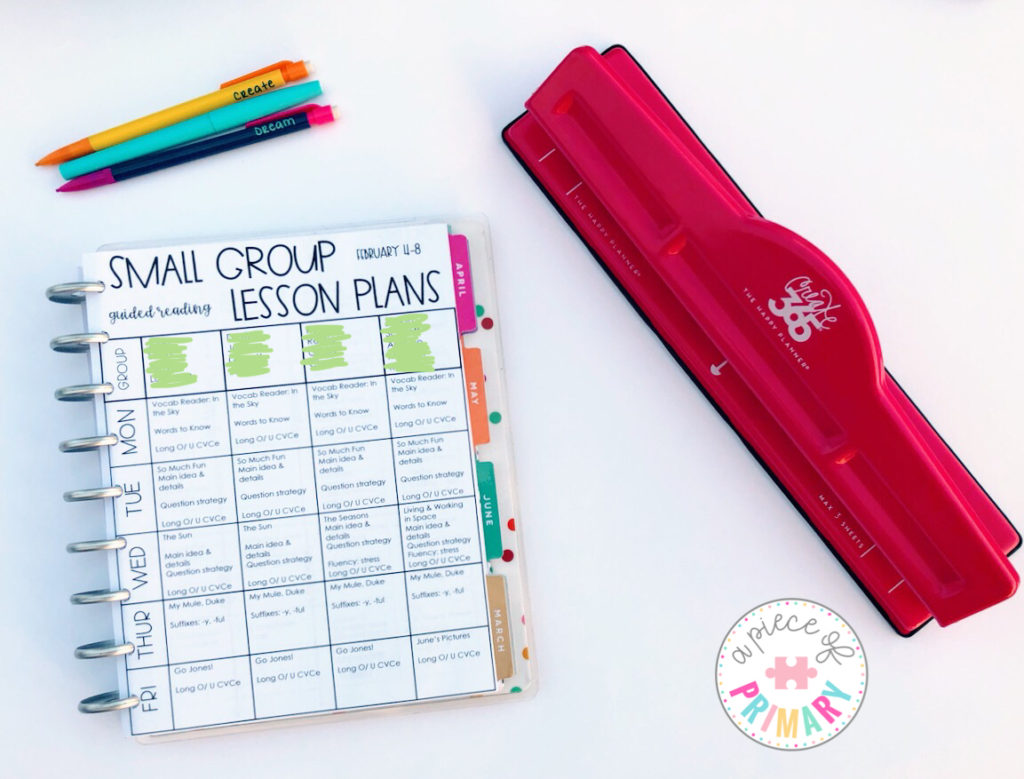
In the primary grades, small group time is where the majority of teaching is done, but there’s simply no planner in the world big enough to put 4 or 5 different lesson plans for each group in math and reading. To help me stay on track in my small group teaching, I created this small group lesson plan template.
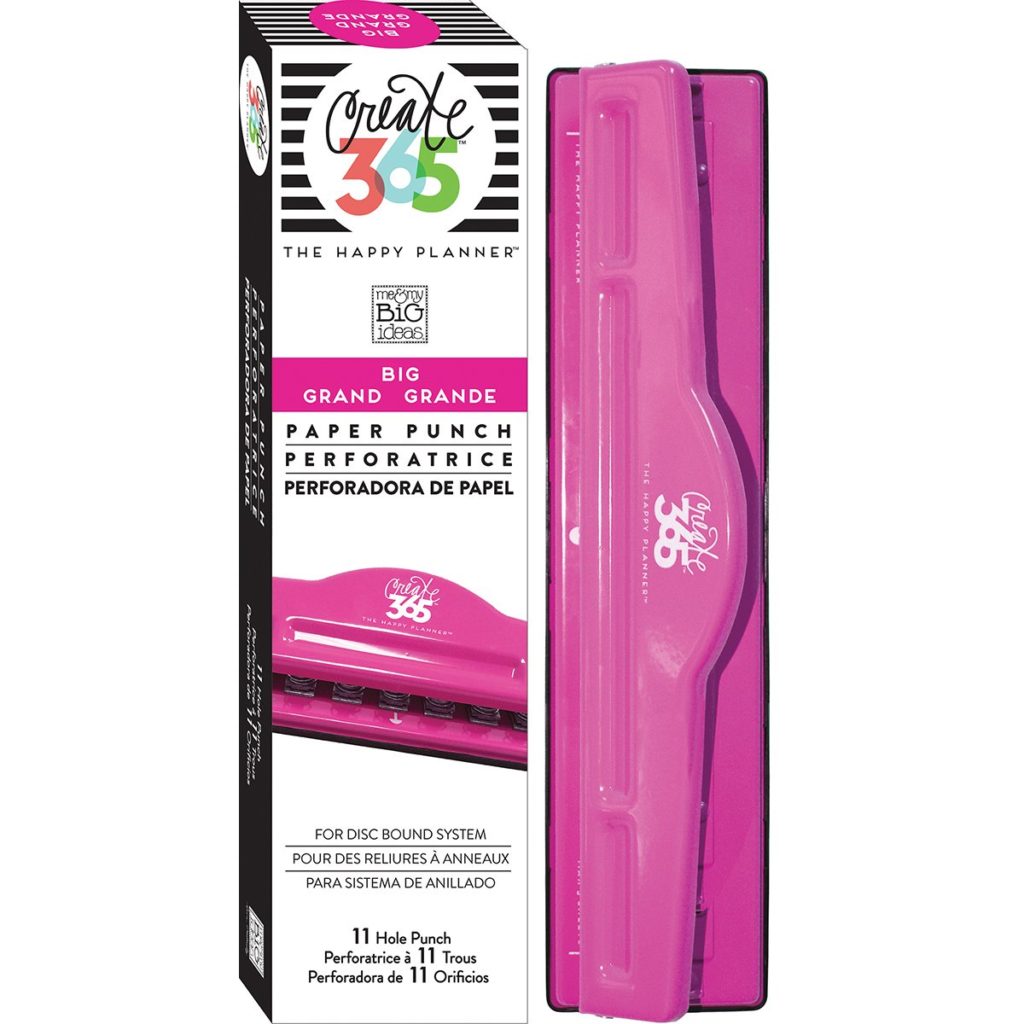
Just like you can pull pages out of the Happy Planner, you can add pages into your Happy Planner using this hole punch (affiliate link). I love printing out my small group lesson plans template and punching it into my Happy Planner. This allows ALL my plans to be in one place.
Use the Accessories that Work for You
The hole punch really makes the Teacher Happy Planner my favorite. Not only can I pop in my small group plans, it’s also helpful to pop in any newsletters, meeting notes, and reminders into my teacher planner. Again, everything stays in one place! It keeps me organized because at any given time I can find whatever I need in my planner.
Now, last year I used the classic size planner because I thought it would be more portable, but as I fell in love with the hole punch, I wished I had the big size. The big size is easier to pop in all those papers and notes because it is already paper size. The papers would stick out of my classic size. (To print my small group plans for the classic size I changed my printer settings to print at the classic size page and then cut off the excess paper.)
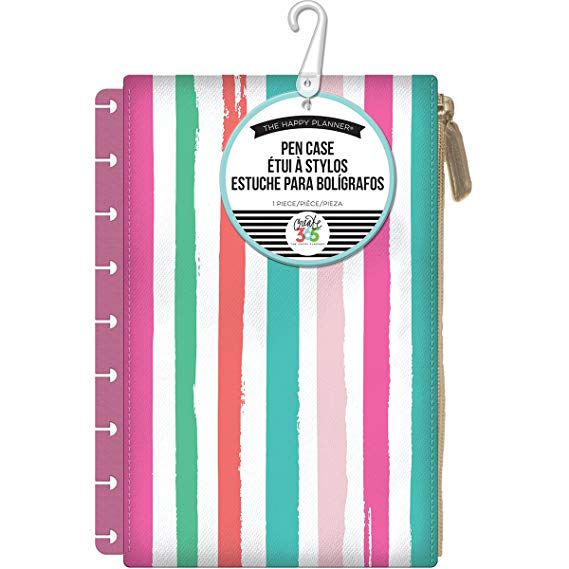
This summer I found this perfect pencil pouch (affiliate link) that I can pop in the front of my planner. I’m obsessed because I will be able to keep my pencils and planner accessories directly inside my planner. Everything in once place again!
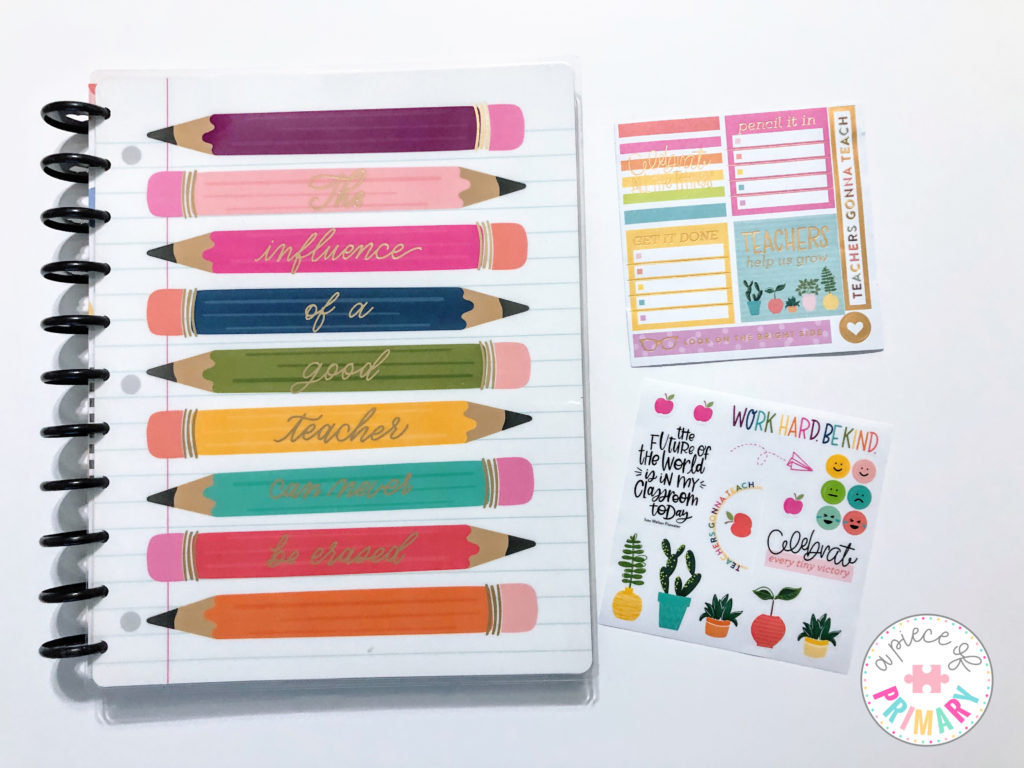
Let’s talk stickers for a second. If you love filing up your planner with stickers, you go girl! I, personally, just don’t have time. The Teacher Happy Planner comes with a good amount of stickers and there are tons of additional packs you can purchase, but I just never actually use them. The few stickers in my planner will be from when I set my planner up with our district schedule during the summer on the monthly spreads. That’s about it! They aren’t necessary to have a good planner, but do what makes your heart happy.
My Planning Method
Planning is so personal. It took me awhile to figure out what worked for me. You need to experiment with different techniques. Don’t get frustrated! Here is what works for me.
Monthly spread: I use the monthly spread during our team planning meetings. At my school, the first grade team each has a subject we plan for and we meet once a week to discuss the topics and standards we are covering the following week. We meet on Tuesdays, so it gives us plenty of time to prep for the week. My monthly spread is a mess!! I scribble all over it during the planning meeting writing out all the standards and notes we discuss. It just works for me so those notes are in my planner ready for me to type it out nicely for the weekly spread.
As a side note, I love my team. We work well together and understand that everyone will teach the standards in a way that works for her and her students. I know not everyone has this sort of autonomy. Like I said, planning is so unique to each situation.
Weekly spread: My weekly spread contains plans for the following subjects. I keep the subjects typed out and simply just plug in the activity for each day.
- Writers Workshop
- ELA: Phonics, sight words, vocabulary, and grammar
- Daily 5 Stations (I do a modified version that works for me): Work on writing, word work, read to self, read in library, listening to reading, technology, and teacher table (general idea, actual plans are listed out in my small group lesson plan template).
- Science
- Social Studies
- DEAR (Drop Everything and Read): read alouds, comprehension skills, AR testing
- Math
- Math Stations (I use Reagan Tunstall’s Guided Math): Create (math journal), Apply (math game), Technology, and Small Group table. It spells CATS and the kids love it.
Small Group: Guided reading is a beast! This could be a whole other blog post. It looks different even throughout the year in first grade as my students develop from non readers to reading level 16. I use data to create groups and I teach skills those kids needs based on their level. I touch on our whole group topics, but I focus on the skills the kids need to close their gaps. If it’s mid-year and I have a student still struggling with short i, you better believe I’m doing everything I can to close that gap instead of pushing ai/ay. For guided math, I use Reagan Tunstall’s guided math lessons. Her lessons already include a small group lesson for below, on, and above level groups.
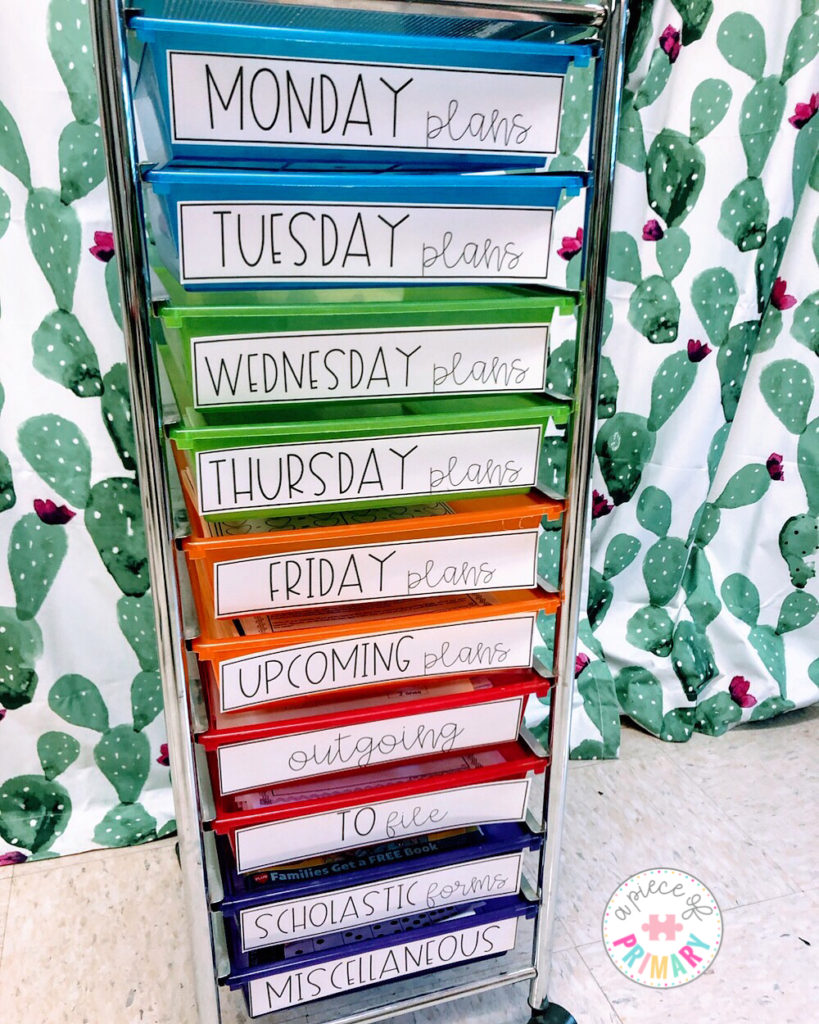
When do I find the time? I get a 50 minute planning period everyday while my students are at specials. Tuesdays we meet for team planning and we usually have a meeting with admin on Wednesdays. In spare time (ha!) on Tuesdays and Wednesdays I find the materials I want to use for the following week. I start typing it out in my templates right away. I file the materials away in my rainbow drawer cart from Michaels.
My goal is to always have my drawers ready to go and plans finalized on Friday. Until I get in a good groove in my small group plans, I usually type those out at some point during the weekend. By February/ March, I usually start getting those done during the week at school. On Sundays, I like to print my plans to help mentally prepare myself for what I’ll be teaching during the week. It’s my way to get rid of the Sunday Scaries.
And that’s it! How I plan in a nutshell 🙂 I hope this helps you and if you have any more questions, leave a comment or DM me on Instagram!
